Table Of Content
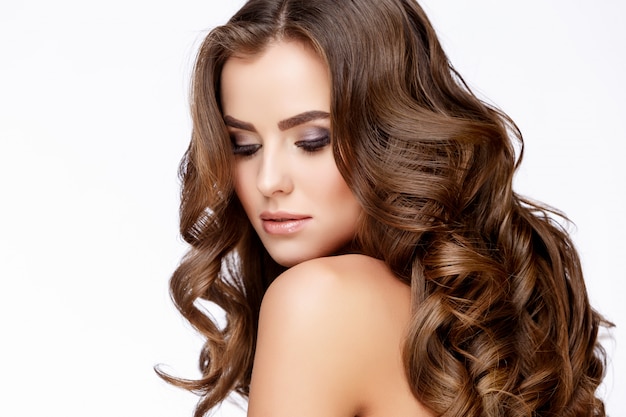
And there are different techniques you can use to highlight the hair, such as balayage, foiling, ombre or a face-framing highlight, depending on the style you desire. So, scroll down and check out how to highlight your hair with traditional dyeing kits and DIY techniques. I bleached my hair 100% blonde last summer with Wella T18 toner and loved it. Then, I went darker in the winter and returned to my natural hair color. Recently I’ve been craving blonde highlights, so I decided to add highlights to my hair at home. I don’t have much patience, so I highlighted my hair at home with no foil, no kit, and no cap.
Do a Test Prior to Bleaching or Dying Your Hair
StyleCraze provides content of general nature that is designed for informational purposes only. The content is not intended to be a substitute for professional medical advice, diagnosis, or treatment. All in all, there are four ways to highlight your hair to create different looks. Once you decide on the technique, the process to do highlights at home is quite simple.
Products You’ll Need:
17 Best At-Home Hair Colors Brands and Kits, Reviewed for 2024 - Cosmopolitan
17 Best At-Home Hair Colors Brands and Kits, Reviewed for 2024.
Posted: Fri, 03 Feb 2023 08:00:00 GMT [source]
Bleach comes in varying strengths – in the world of hair products, “volume” refers to the strength of the product that will lighten your hair. This will vary depending on how light you would like your highlights to be. First things first, you’ll need something to apply your hair dye with. This should be a small, angled brush that corresponds with the size of the desired highlights – the bigger the brush, the chunkier your highlights will be.
Your Toolbox for Perfect DIY Highlights for Dark Hair
But the cost of highlighting is that you need to know how to do it. Affordability is the biggest advantage of DIY highlighting. Anyone should be able to get beautiful highlights, even those with budget constraints.
Tips

Start with the hair that is closest to your face, then work towards the back of your head. It may seem odd, but style your hair as you normally would before applying the dye, whether that’s curling, straightening, or blow-drying it. That way, you’ll have a better idea of which strands to dye. If your dye kit involves mixing a powder and a liquid, try to mix only what you need to do the test strip. Otherwise, the chemical process will not last long enough to do your whole head later. Remember that the color on the box is not a guaranteed result of the color your hair will be.
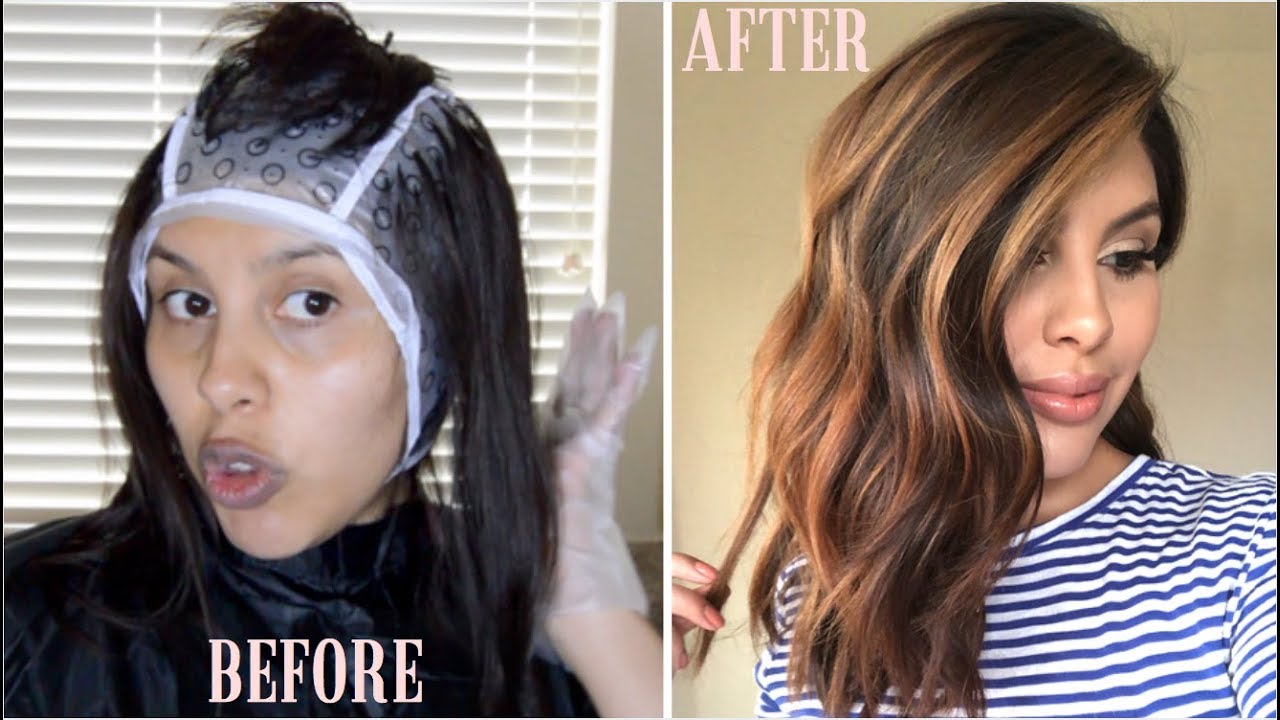
Changing your hair color can be a lot more intimidating than usual when you're the one wielding the bleach (and when you're the one responsible for the outcome). Seeking out help from a professional, who can give guidance on products and application techniques based on your specific hair type and tastes, can make it way less scary. If you’ve got the hair color you want just from the box dye or bleach, congratulations! However, more often than not, the brassy yellow or orange color you will get from lightening dark hair will not be your desired final color.
Step 2: Style your hair as you normally would
Instead of making lemonade, let’s use them to make beautiful highlights on your dark hair. Lemon is one of the most popular natural remedies for highlighting your dark hair. This hairstyle allows you to keep the most of your naturally dark hair while only highlighting the strands around your face.
Blend in a ‘w’ or ‘v’ shape rather than a straight line across. You’ll also want to use an old towel for the same reason – it’s always for the best to use an old towel to dry your hair and body just in case. It’s also good if you need to wash your hands in the middle of the highlighting process too to avoid ruining any hand towels.
Once you decide what color highlights you want, you can purchase a toner in the right shade. A toner is especially recommended if you are lightening your hair with bleach rather than a box dye. Wella is a popular brand that makes toners used by professionals at salons. Luckily, it’s only 6 or 7 dollars and can be bought at any beauty supply store or online. You can go for hand-painted highlights if you do not want to use aluminum foil.
This website is not directed to consumers outside of the US. It will not only lighten it but also make it easier to detangle, soften it, and remove all the excess oils. You should make a mixture of one part vinegar and two parts water, depending on your hair length. After you have washed your hairs as you usually do, pour the vinegar mixture and massage it to your scalp, roots, and length.
Just mix it up in one of your bowls and paint it on your highlighted hair with a clean brush. “Dirty,” worn out but dry hair is excellent for highlighting because the natural oils and grease help to protect your hair from the strong lighteners and chemicals that might irritate your scalp. Get familiar with the tools in your highlighting kit by using it with your conditioner. You should pick a light shade of henna, mix 3 tablespoons of it with ½ cup of boiling water. Then the next day, apply it to your hair and let it sit there for at least 2 hours. You can make a mixture of lemon, conditioner, and coconut oil.
If your hair turns a bit red after highlighting, look for a green shade to make it more neutral brown. If your blonde highlights are too icy, a gold toner will help add some warmth to your hair. If you want shiny hair, a glossy kit can be applied to your highlighted hair. Grab one-fourth-inch and one-half-inch acrylic brushes from an art supply store and look for the foils which are salon-like. It is always better to be prepared with pro tools when you are about to do a professional’s work at home, like hair highlighting.
Smart tips to add fun streaks of color to your hair without having to hit the salon. Using a rat-tail comb, slice a fine section of hair from either part and hold it between your fingers. After that, take a piece of foil and apply it underneath the hair, sliding it under the section you’re holding. Put simply, the foil serves as a barrier between the section you’re going to paint and the rest of the hair. First things first, you need to divide your hair into sections to organize the process and avoid the mess. Clip two sections on the sides and one on the back, and focus on the T-zone (parting and hairline areas) for painting.
You can get the look without ever blasting your locks with a blow-dryer or picking up a curling wand. All you actually need is the L’Oréal Paris Advanced Hairstyle AIR DRY IT Wave Swept Spray. Spritz onto damp hair, scrunch, then allow your hair to continue air drying. We may earn commission from links on this page, but we only recommend products we love. Don’t worry, I got an actual colorist to talk you through it.


No comments:
Post a Comment